Live marking: how to do it with a class of 30
Live marking with a class of 30: plan a task you can mark in seconds, walk a route instead of a queue, and use what you see in the next five minutes.
LearnWorkly team6 min read
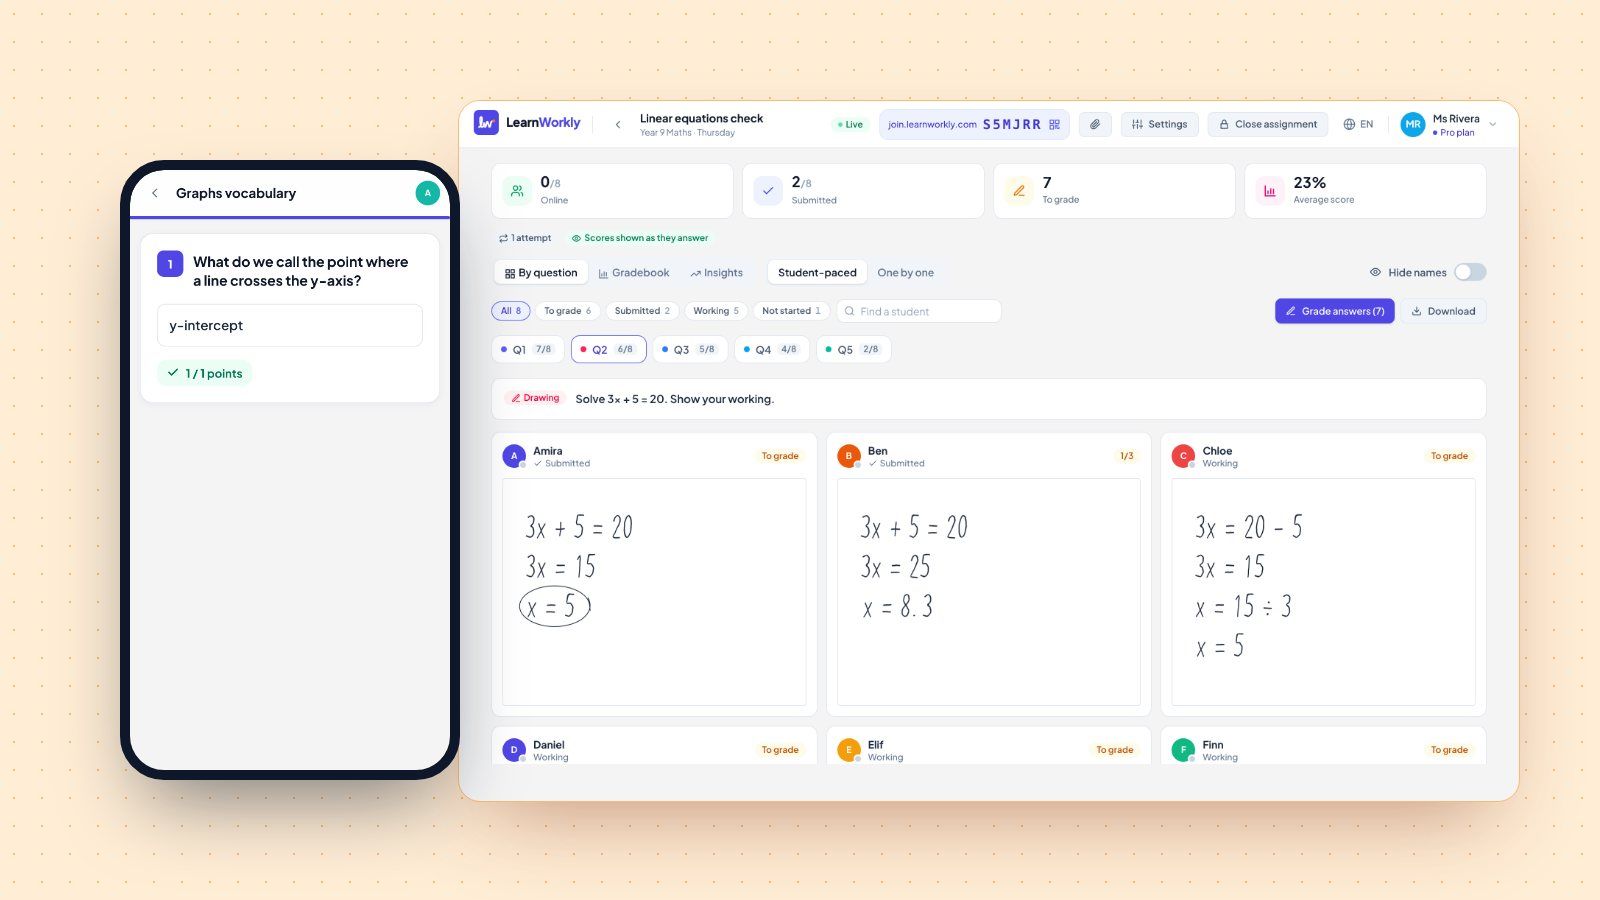
Live marking means marking pupils’ work during the lesson, while they are still doing it, instead of carrying a pile of exercise books home. With eight pupils it is easy. With a class of 30 it falls apart fast: you get stuck at one desk, a queue forms at yours, and by the time you reach the back row the lesson is over.
It doesn’t have to go that way. The teachers who make live marking work with big classes do three things differently. They plan a task that can be marked in seconds. They move around the room on a fixed route. And they treat what they see as information for the next five minutes of teaching, not as a record for later. This guide covers each one, with the small routines that make it manageable on a Tuesday afternoon with Year 9.
What live marking is, and what it replaces
At its simplest, live marking in the classroom is a tick, a short code or a quick question written on a pupil’s work while you circulate. Some schools use a coloured pen for it, so pupils can see which comments came from the lesson.
What it replaces is deep marking: long written comments added after the lesson, often days later, which pupils glance at and rarely act on. In 2016 the Department for Education’s Marking Policy Review Group set out three principles for marking: it should be meaningful, manageable and motivating. Live marking ticks the first two when you do it well. Feedback lands while the pupil still remembers the question, and you have finished marking when the bell goes.
The evidence on feedback in general is strong but uneven. The Education Endowment Foundation’s Teaching and Learning Toolkit entry on feedback rates it as one of the most effective things a teacher can do, and also warns that some feedback has little effect or none at all. The toolkit looks at feedback in general rather than live marking in particular, so the lesson to take from the EEF is this: the method matters less than whether pupils get a clear next step and act on it.
How to do live marking with a class of 30
1. Plan a task you can mark in five seconds
Live marking fails most often at the planning stage. If the task is an open paragraph, reading one answer properly takes a minute, and 30 of them take half an hour.
So design for speed. A short calculation with one final answer. A single sentence using a key word. A labelled diagram with three labels. Put the question that matters most first, so the work you check on your first lap is the work that tells you most.
A useful rule: if you cannot tell right from wrong at a glance, the task needs a smaller first step.
2. Walk a route, not a queue
With 30 pupils, the biggest time sink is the queue. Hands go up, you go to them, and the same six pupils get most of your attention.
Pick a route through the room before the lesson (front left to back right, say) and walk it in the same order every time. Tell the class you will come to them, so there is no need to put a hand up. If someone is stuck before you arrive, they move on to the next question and come back.
On each desk, spend no more than ten seconds. You are looking for one thing: is the first answer right? A tick, a dot next to the wrong line, or a single letter from your code. Then move on.
3. Use a code instead of comments
Writing full sentences slows you down and fills the page. A short code, displayed on the board, does the same job in a fraction of the time. For example:
- ✓ correct, move on to the extension
- • an error on this line: find it and fix it
- U check your units
- E explain your answer in one more sentence
Pupils learn the code within a week. The dot is the most useful mark of all, because it tells them where to look without doing the thinking for them.
4. Check five, then decide
After the first five or six desks you usually know whether the class has it. If four of the six made the same mistake, stop walking. Bring everyone back together, show the error (with the name hidden), and reteach that step for two minutes. Then send them back to work and start your route again.
This is where live marking earns its time. You have found a misconception within ten minutes of the task starting, instead of in a pile of books on Thursday night.
5. Leave time to act on it
A mark nobody responds to is wasted. Build the response into the lesson: the last five minutes for corrections, in a different colour, against your dots and letters. Our guide to feedback students act on has more ideas for that response time.
Where live marking breaks down
Even with a good route, a class of 30 has blind spots.
You never see the whole picture at once. By the time you reach the back row, the pupils at the front have finished and moved on, and you can’t remember which mistakes you saw where.
Quiet pupils slip through. A pupil who writes nothing looks the same as one who is thinking, until you get there.
Some work is hard to read over a shoulder. Long calculations, graphs and handwriting at an angle all slow you down.
And it doesn’t work when you are teaching from the front. If you are modelling at the board, you are not walking the room.
Live marking on a screen
A live view solves the visibility problem by letting the work come to you. Each pupil answers on a laptop, tablet or phone, and the answers appear on your screen as they write them, so one glance shows the whole class.
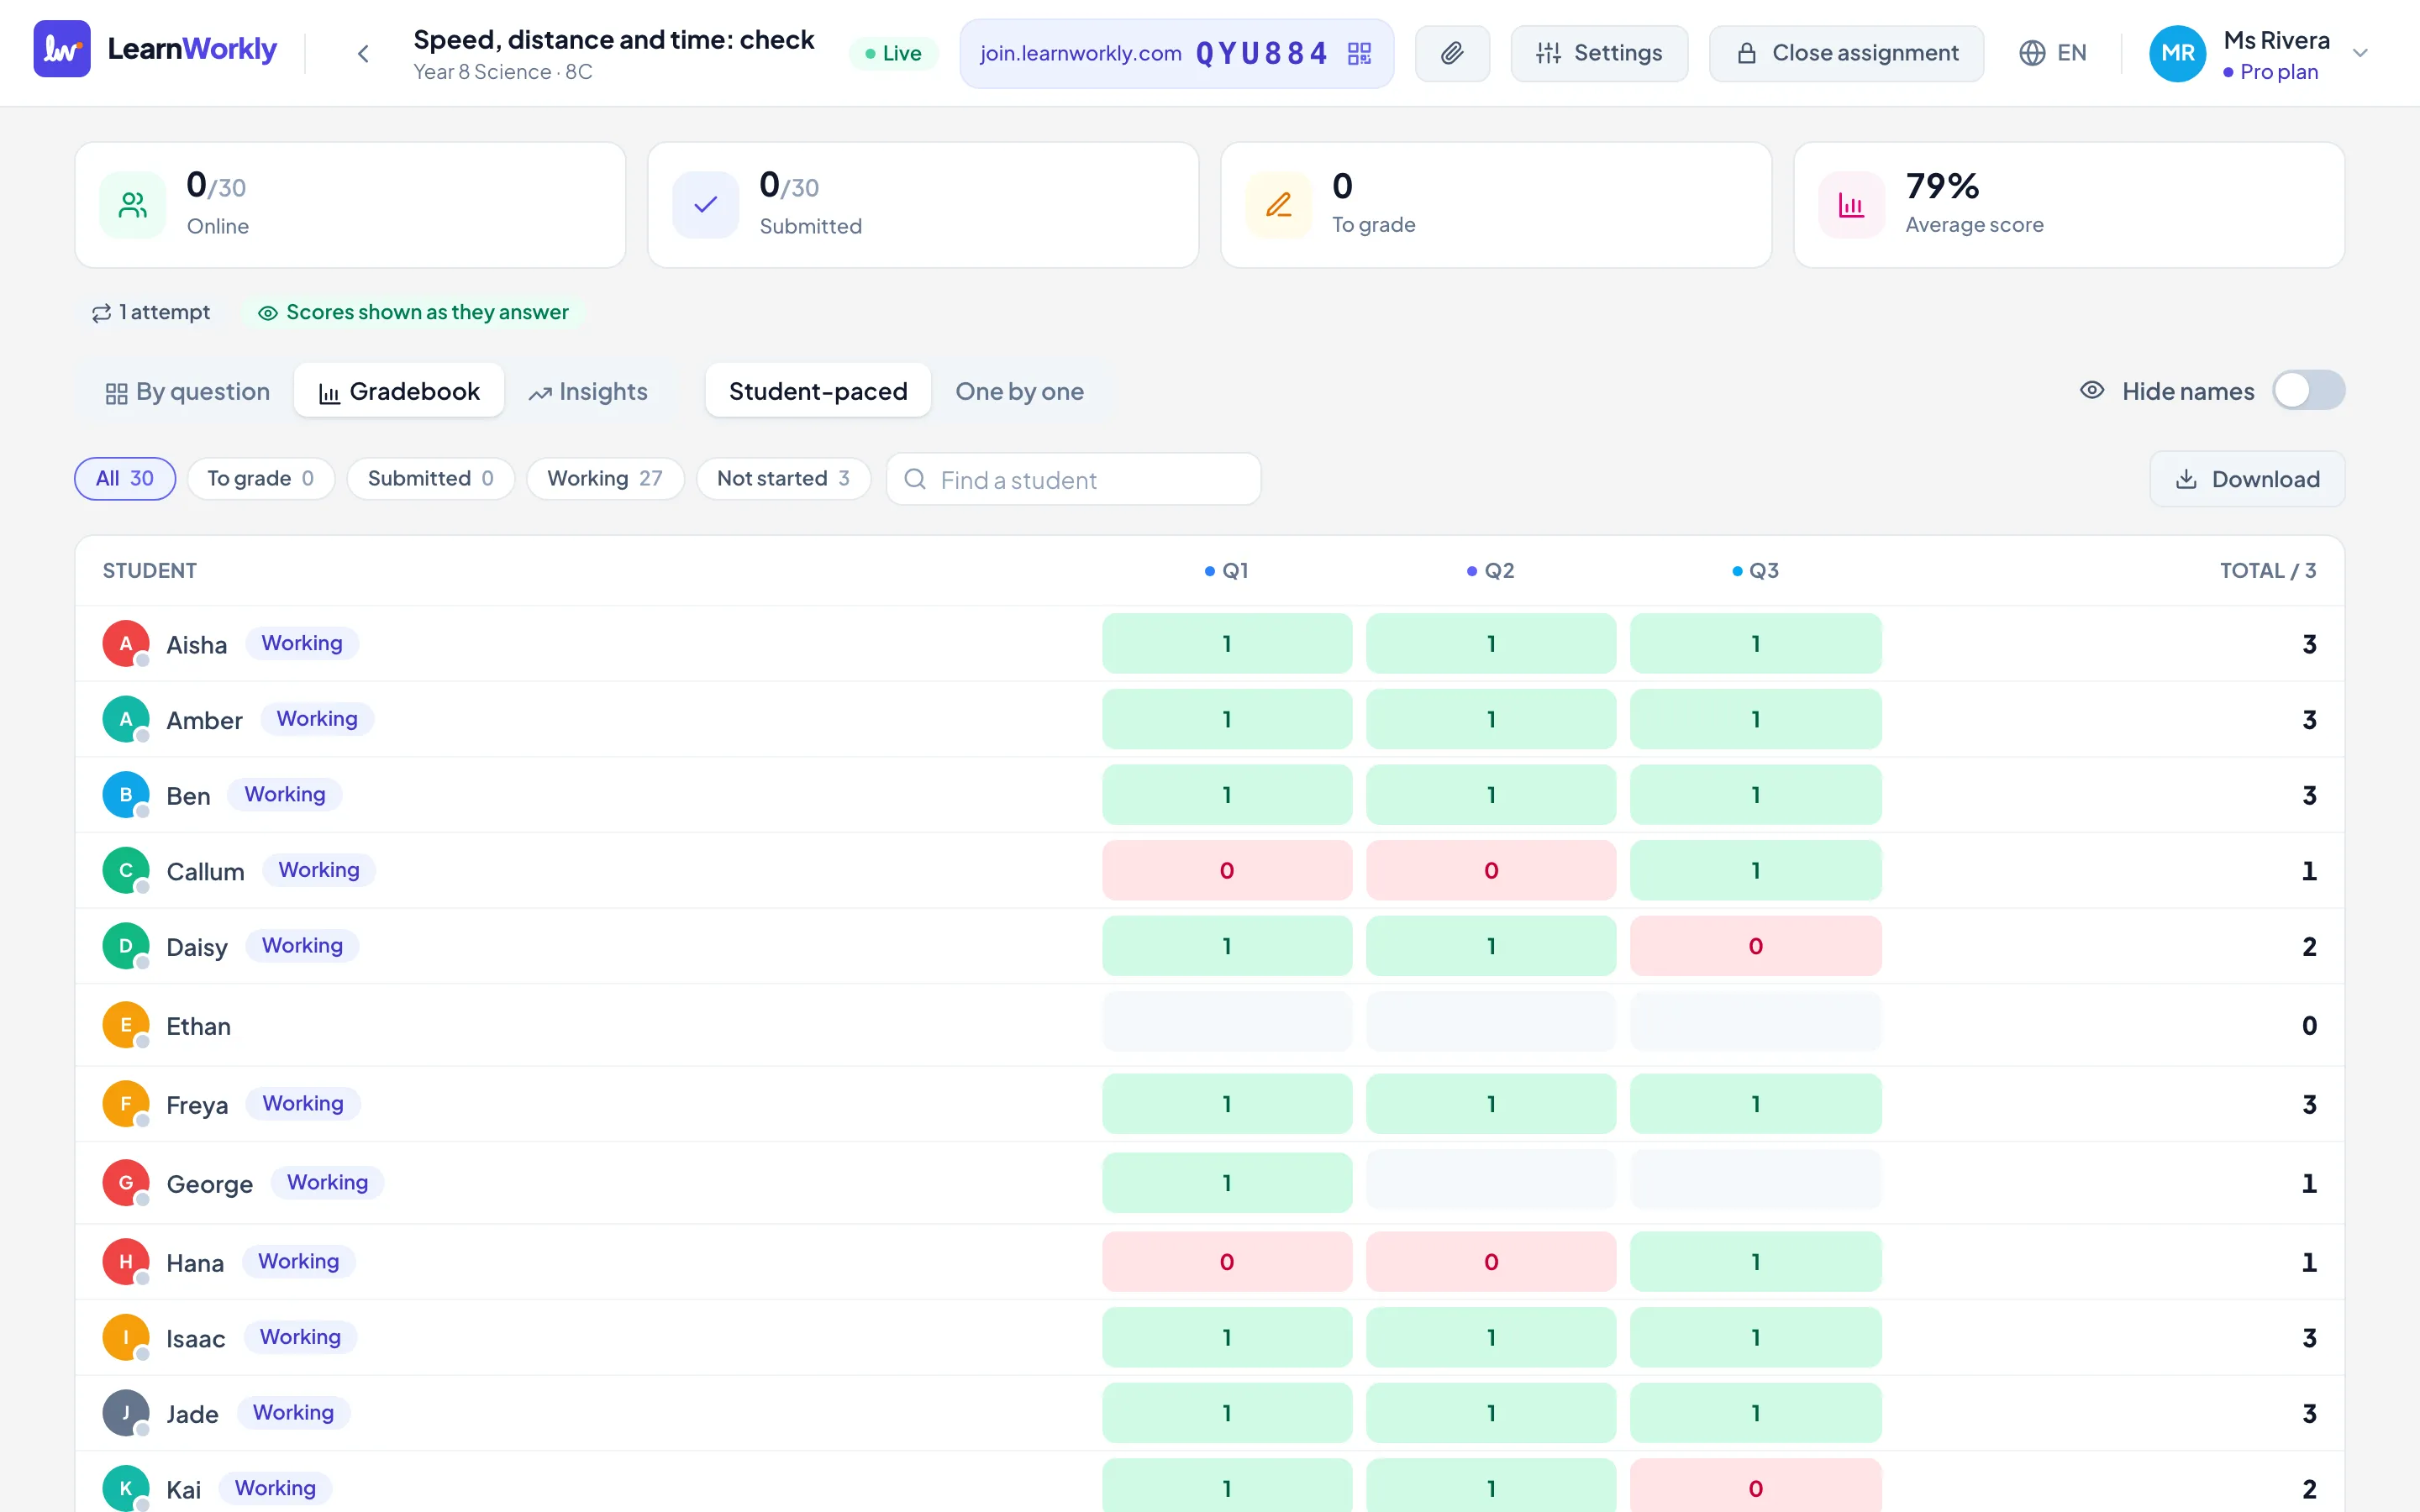
In the LearnWorkly live view, questions with an answer key are marked as pupils answer. In the screenshot above, Callum and Hana have the same two red cells: both multiplied distance by time instead of dividing. That is the misconception to stop the class for, and you spotted it without leaving your desk. Empty rows show who has not started, so the quiet pupil is visible from the start.
Open answers and drawings still need your judgement, but you mark them on screen, not on paper. You can reply to any answer with a comment, a voice note or a drawing on top of the pupil’s working, and the pupil sees it at once and can reply. “Hide names” keeps the screen safe to project when you show the class a common error.
It doesn’t replace walking the room. Most teachers who use it still circulate, but they go first to the pupils the screen shows are stuck, instead of walking a fixed loop. If you teach in a school, the page for classroom teachers shows how a class is set up in a few minutes.
A live marking routine to try this week
- Pick one lesson and one task with a single, checkable answer.
- Put your marking code on the board before the lesson.
- Walk your route once, ten seconds a desk, marking only the first answer.
- After six desks, decide: reteach now, or carry on.
- Finish with five minutes of corrections in a different colour.
Try it for two weeks before you judge it. The first few lessons feel slow. By the third week your class expects you to come round, the code is second nature, and very little marking goes home in your bag.